
Today we’re going to be learning how to add and manipulate text in Adobe Illustrator. The details we’ll be covering will help you as you work with the vectors that you download from Vecteezy, as well as new designs that you create from scratch.
If you’re an Inkscape user, please see How to Work With Text in Inkscape.
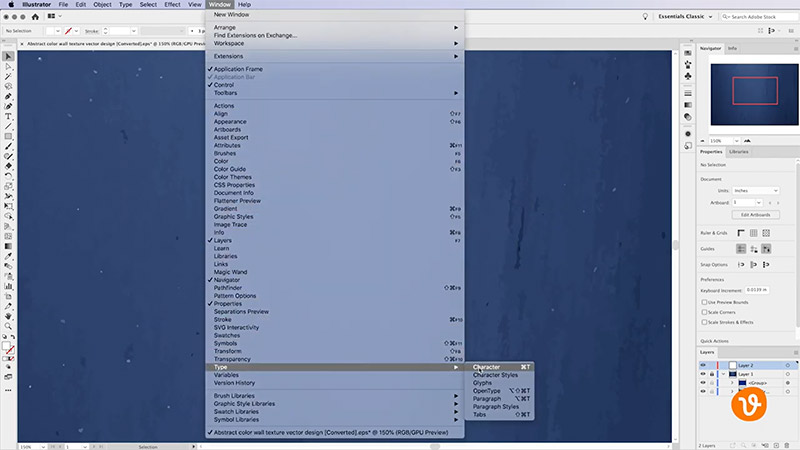
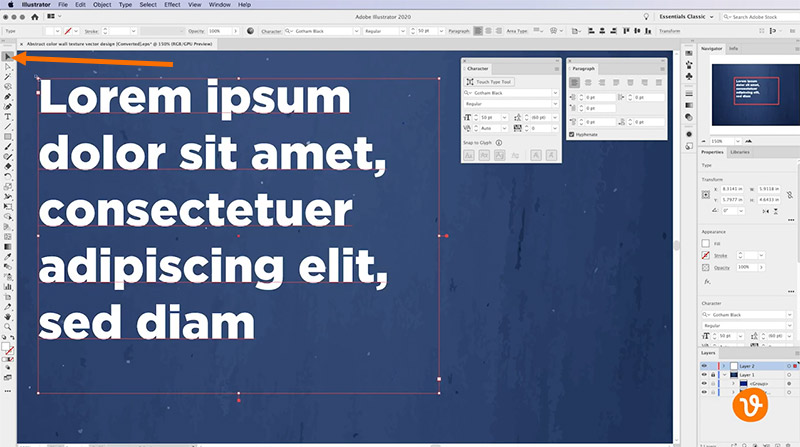
First, go to Window > Type > Character and then Window > Type > Paragraph. This will open the Character and Paragraph panels and will allow you to control the font, size, style, and alignment.
Adding Text
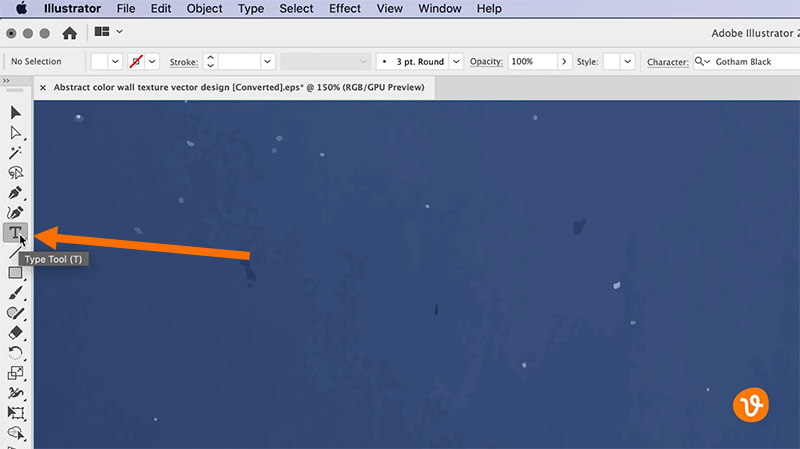
Click the Type tool within the toolbar to add text.
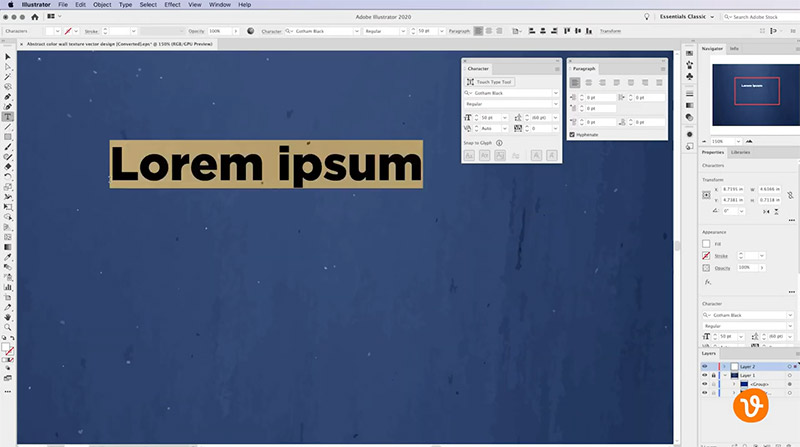
For a single line of text, simply click somewhere in the document and begin typing.
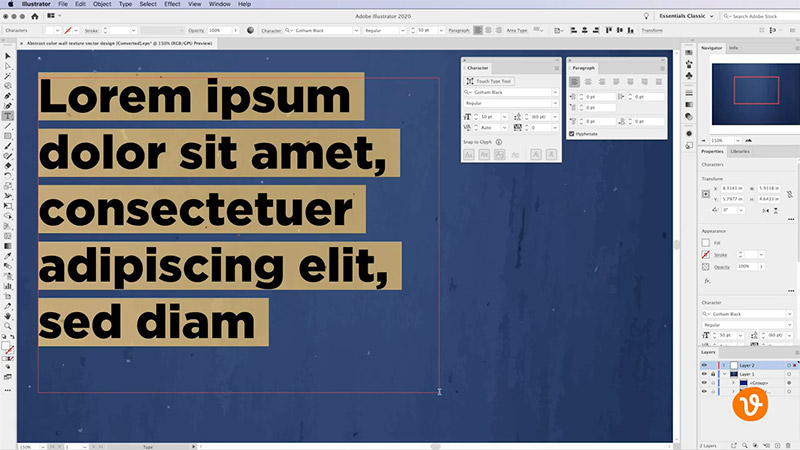
For paragraph style, click and drag a text box within the document and start typing.
Get millions of stock images and videos at the best price
Unlimited access. No attribution required. Starts at just $9/month.

You can then use the Selection tool to resize the text box by dragging its corners.
You can also reposition the text by dragging the object anywhere in the document.
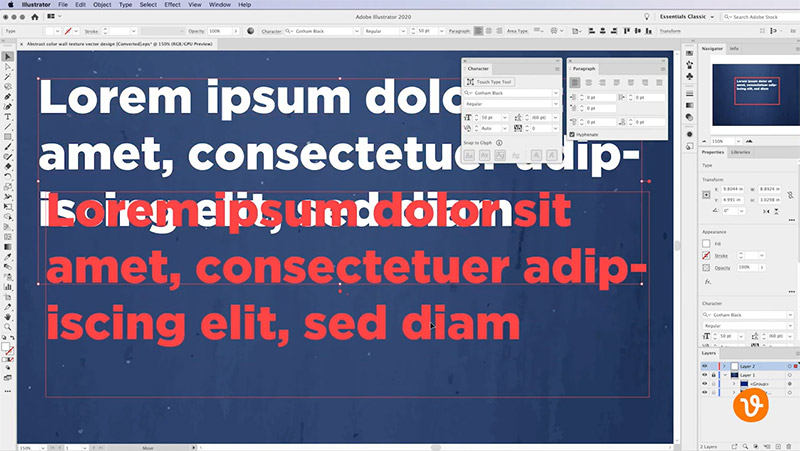
Once you’ve entered the text, use the Character and Paragraph panels to modify your font, size, line spacing, kerning, and alignment.

You can select text and use the color picker to change its color.
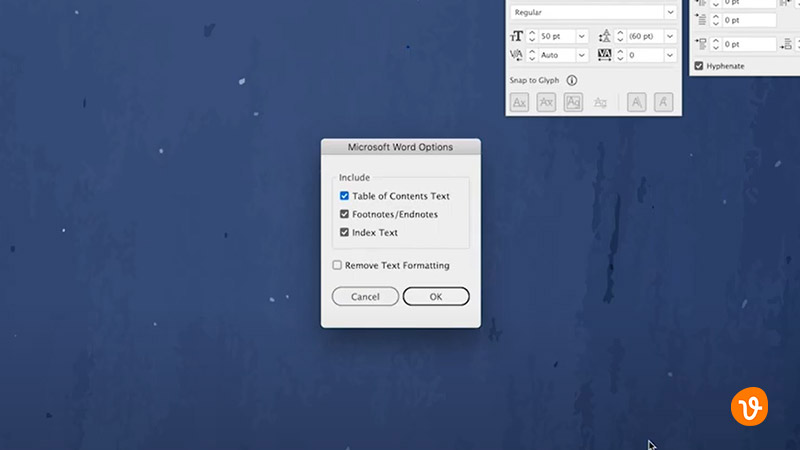
A quick way to add text that’s already on your computer in a text file, such as a .txt or Microsoft Word file, is to go to File > Place.
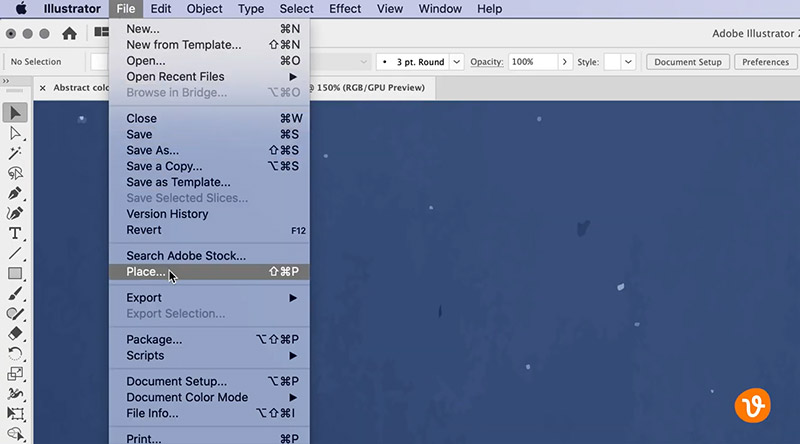
Then choose the text document from your computer and click “place”.
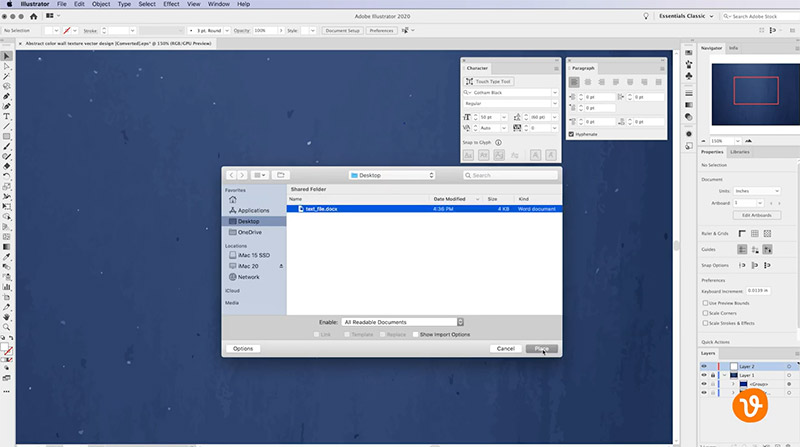
Make any necessary changes in the Options window and then click “ok”.
Now click and drag a paragraph text box within the document. Your text will automatically be placed inside the box.

If there isn’t enough room to show all of your text with the box, a small red plus box will appear toward the bottom right corner indicating there is additional content not being displayed.

Modifying Text
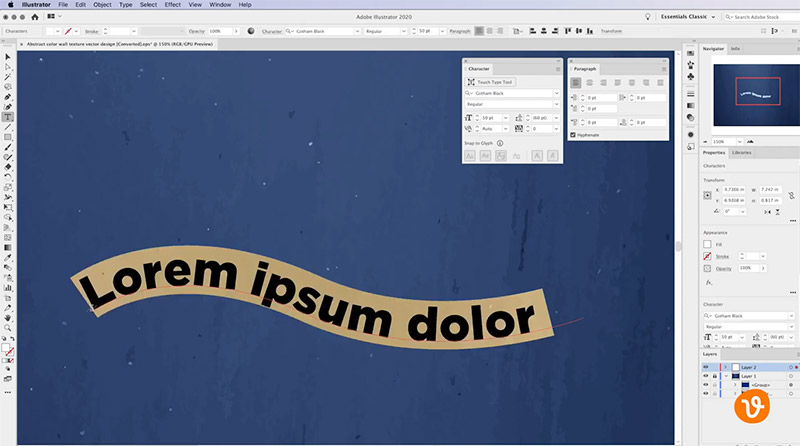
Let’s say we want to change the layout of the text and have it follow a path or a curve. We’ll start by drawing a simple path using the Pen tool.

Then we’ll reselect the Type tool and hover near the left edge of the path. You’ll see the cursor change to indicate text on a path.

Click and then you’ll be able to type directly on your path.
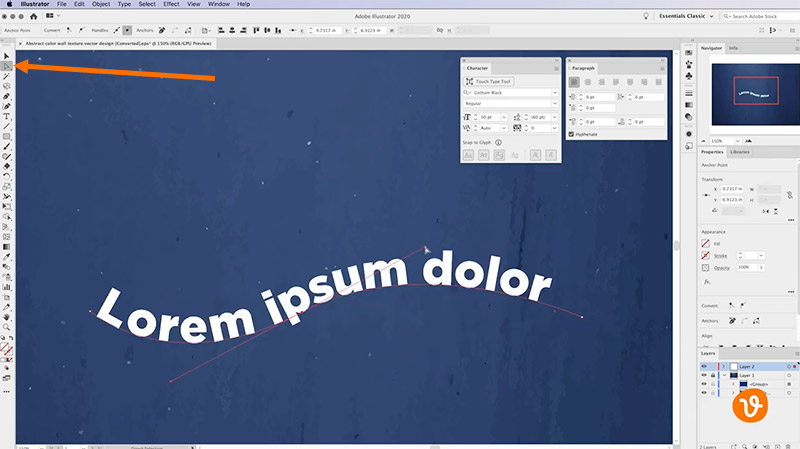
You can also use the Direct Object Selection tool to modify any points on your path and the text will automatically follow.
Changing or Reshaping Letters
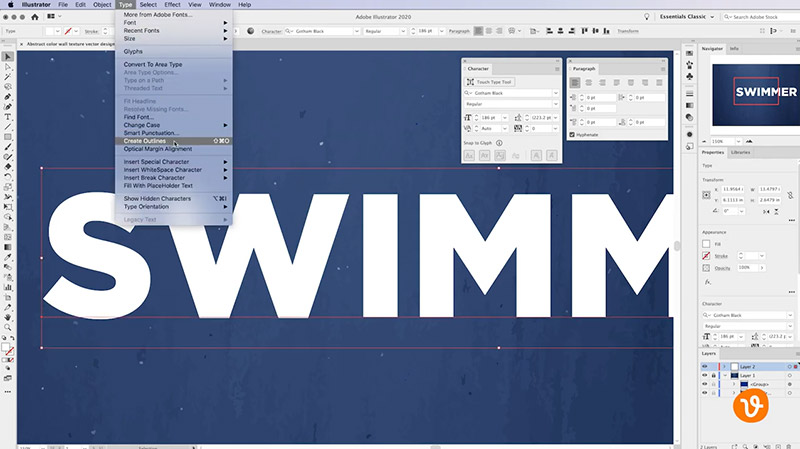
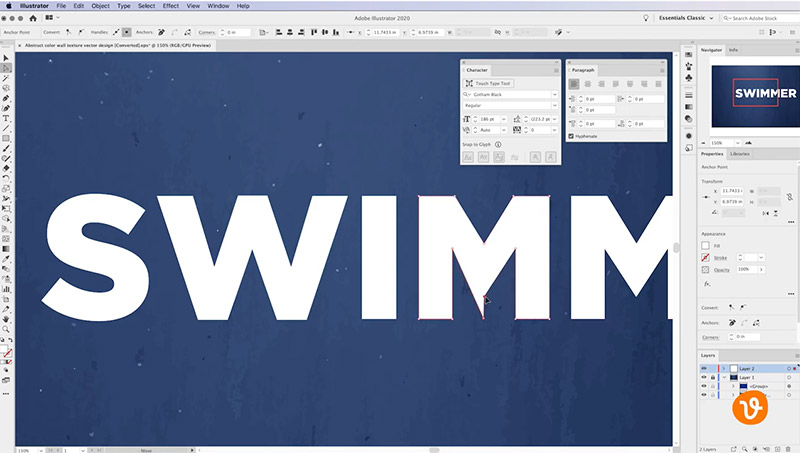
Let’s say that we’re unhappy with a character within a font or we simply want to modify the appearance or reshape some characters. We can have Illustrator convert the text into editable objects. First, enter the line of text and then go to Type > Create Outlines.
Illustrator will then convert each letter into its own shape. You can then use the Direct Selection tool to modify any of the points on any character.
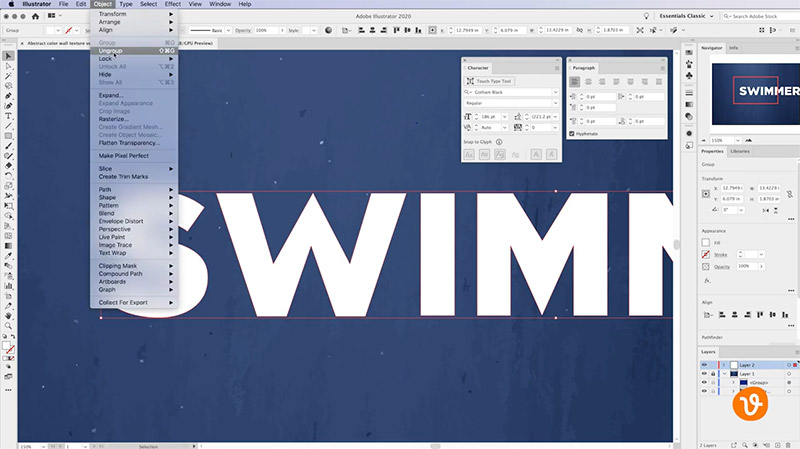
Keep in mind that after you create outlines, Illustrator will automatically group all of your characters together to keep their spacing and alignment. If you to move individual characters more easily, simply select the text and then go to the Object menu and choose Ungroup.
It’s important to note that after you convert your text to outlines, your text is no longer editable.
Pro tip: Converting text to outlines is also the best way to ensure your text will always appear properly when exported to any vector format. This is because Illustrator will not have to attempt to embed font files, some of which cannot be embedded and would require the user to have the font installed on their machine within your document. Instead, your text will simply be made of regular vector shapes and objects.
There’s a lot you can do with text inside Illustrator and these are just some quick and easy tips to get you started. Be sure to follow the Vecteezy YouTube channel for more tips.
For more on Illustrator, please see:
- Free Adobe Illustrator Plugins to Try Today
- How to Convert Handwriting to Vector Art in Illustrator
- How to Get True Black in CMYK
Lead image by Vectorbox Studio.